
A beautiful fixture is only useful when it solves a real nighttime problem.
A row of lanterns can look perfect in a shopping cart, then leave the path’s awkward bend in darkness once installed. That is how a garden ends up with bright pools near the patio, a blinding light at eye level by the gate, and nothing useful beside the steps.
Before choosing finishes or fixture shapes, each outdoor area needs a job: safe footing, a visible lock, a gentle welcome, or a feature worth noticing after dusk. Mark where people walk, pause, unlock doors, and carry bins. Also note where light would shine into windows or directly toward a seated guest. Mixing warm string lights, cool security lamps, and decorative solar stakes without a plan often makes the space feel accidental. Runtime matters too: a solar light under dense foliage may look charming for an hour, then disappear when it is needed most.
- Sketch paths, doors, steps, seating, and power or sun exposure before selecting fixtures.
Put safety before sparkle
A successful plan does not give every corner the same treatment. Start with places where a missed edge, lock, or change in level causes trouble. Add brighter, more directed light only where people actually carry out tasks; reserve softer light for the parts meant to be enjoyed from a chair or viewed from indoors.
First: routes and access points
Paths, steps, gates, and driveways come first. They need even, low-glare illumination that reveals changes in surface and direction. A gate may need enough light to find a latch or keyhole; a driveway needs clear edges without a harsh beam shining toward drivers or neighbours.
Then: places used after dark
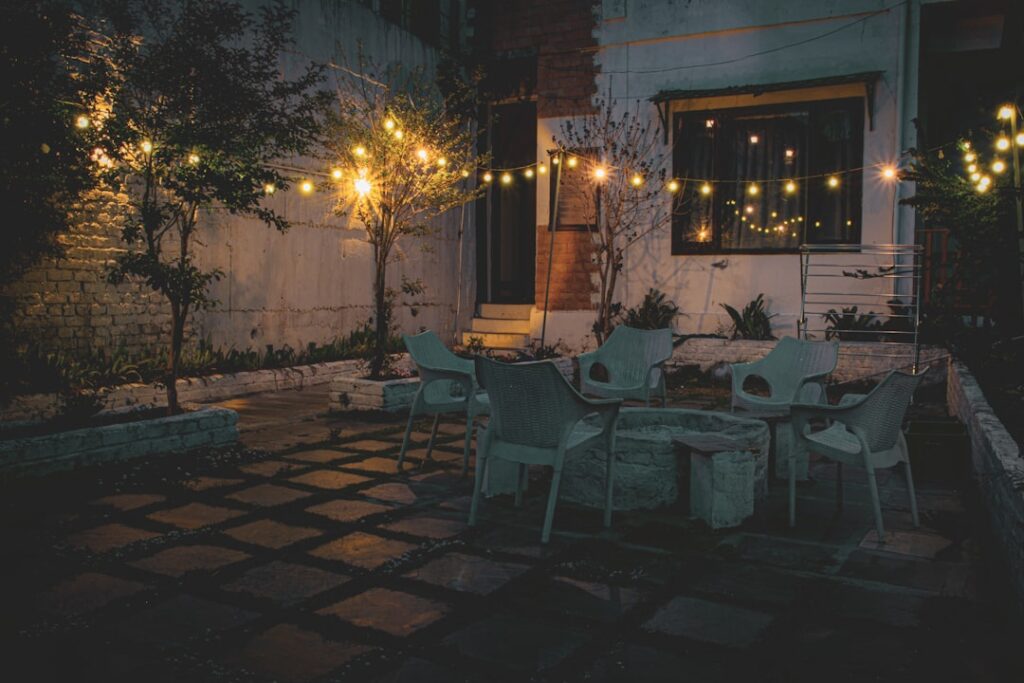
A patio often benefits from task light near a grill, dining table, or door, rather than blanket brightness across the whole space. Light aimed down from a wall fitting, pergola, or shielded fixture is usually more useful than an exposed lamp at eye level.
Last: mood and detail
Beds and façades are mainly atmospheric. A restrained uplight can pick out a small tree, textured wall, or planting group, but these accents should not compete with the route lighting. If the budget runs short, omit decorative fittings first—not the lights that help people move safely.
Map the yard before choosing fixtures
- Draw the fixed features
On plain paper, sketch the house outline, doors, steps, paths, driveway, patio, deck, gates, fences, trees, and major beds. Add a north arrow only if sunlight or solar fixtures are being considered.
- Trace how people move after dark
Mark the usual route from parking to the door, between the house and bin, and through any side gate. Circle pauses such as a seating area, grill, shed door, or mailbox; these need usable light rather than decoration alone.
- Record what already shines
At dusk, note porch lights, streetlights, neighbour spill, and illuminated windows. Shade the areas that remain genuinely dark, and flag bright sources that could cause glare or make a new fitting unnecessary.
- Mark risks and viewing angles
Highlight changes in level, low branches, uneven paving, pond edges, and narrow turns. From doors, windows, and seating, draw sightlines toward likely fixtures so lamps are not placed where their bare source will be seen head-on.
- Place symbols and aim arrows
Use a dot for each possible fixture, then add an arrow showing where its beam should fall. A path light aims down onto footing; a wall light spreads across the threshold; a spike or uplight points at one chosen feature, not into open air.
Keep this first sketch rough. It is a decision tool, not a scale drawing.
Walk the marked routes after dark with a torch held where each proposed fitting would sit. Aim it as the fixture would be aimed, then look from the path, the door, and the seating area.
If the light shines into the eyes, reveals only a tiny bright patch, or throws hard shadows across a step, move the dot or change the beam direction on the sketch before buying anything.
Choose the power source first
A handsome fixture cannot overcome a weak power setup. Decide what must stay lit on cloudy weeks, how far the lights sit from an outlet, and whether buried cable is acceptable before comparing finishes or smart features.
- Solar is the simplest option: stake it in, let the panel charge, and expect modest, variable light. It suits sunny, low-risk paths and decorative beds, but shaded yards and winter weather can shorten runtime. For a closer solar-versus-wired yard comparison, consider daylight exposure as seriously as fixture brightness.
- Plug-in lights offer steadier output with little electrical work, provided an outdoor-rated GFCI outlet is nearby. They work well for patios, decks, and temporary seasonal runs; cords need protected routing.
- Low-voltage systems pair a plug-in transformer with buried or concealed cable. They are a practical middle ground for path, garden, and small accent lighting: more dependable than solar, expandable, and generally manageable for a first project. Starter low-voltage kits for a first installation make the parts easier to match.
- Line-voltage lighting delivers the most consistent power for permanent, high-output needs such as large trees or driveways. It usually calls for weather-rated wiring, proper burial, and an electrician.
For a dim walkway that gets strong sun, solar path-light options with useful output may be enough. Otherwise, low-voltage is often the sensible beginner choice. Count fixtures and cable runs before buying a transformer; power capacity, not decorative extras, sets the system’s ceiling.
Let the beam do the work
- Path lights mark the route
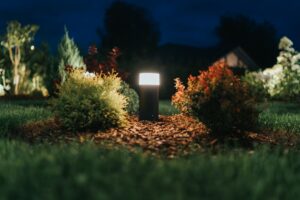
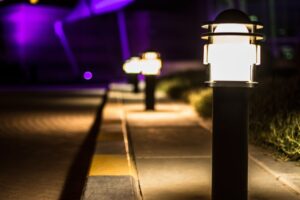
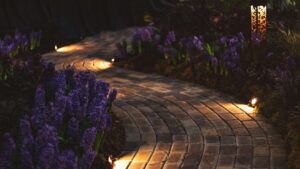
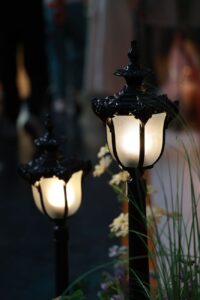
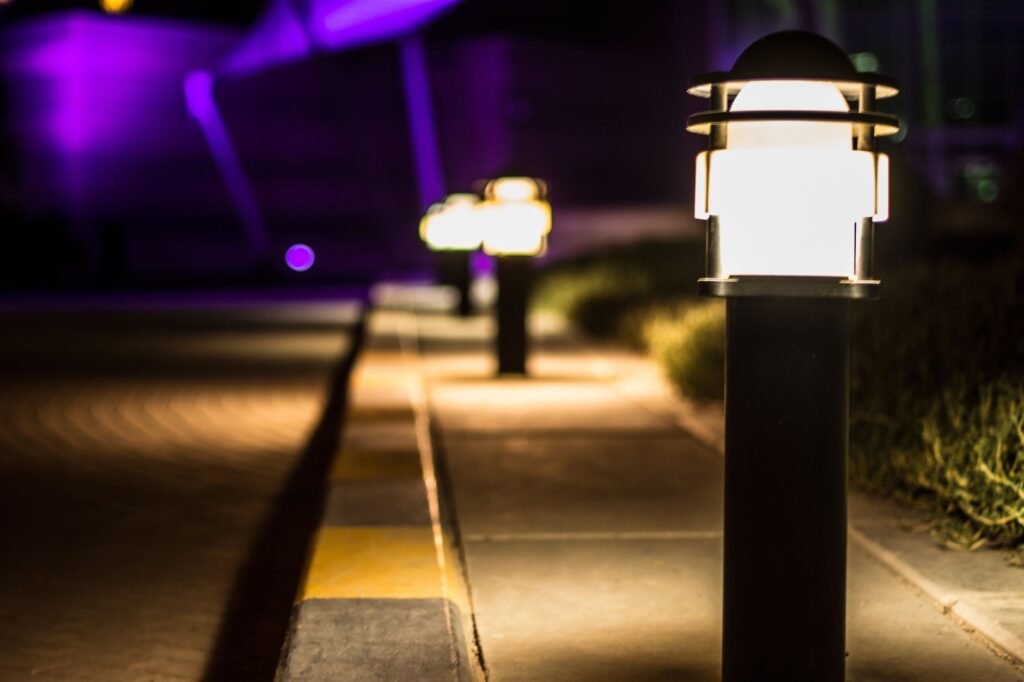
Use low, shielded fixtures to create overlapping pools of light along an edge, not a runway down its centre. Spacing path lights by the pools they create is more reliable than following a fixed distance.
ChooseDownward-facing caps and gentle overlap at walking pace.SkipTall, exposed lamps that shine into eyes or windows. - Step and deck lights reveal changes in level
A small recessed or surface-mounted light aimed down can make a tread, edge, or change in height easy to read. For a nearby route, modest walkway output without glare matters more than an impressive lumen number.
ChooseShielded light on the tread or deck edge.SkipA bare point source placed at eye level from below. - Spotlights pick out one feature
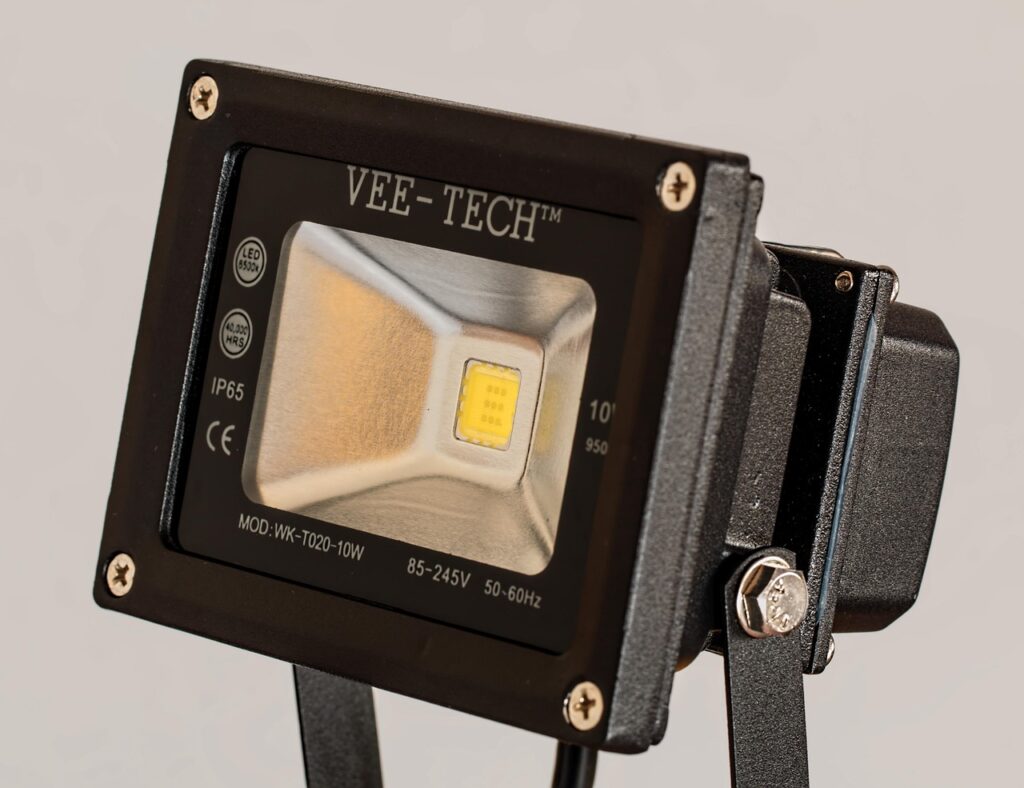
A spotlight suits a tree trunk, specimen plant, wall texture, or house number because its narrower beam can be aimed with care. A driveway that needs a broad wash is a floodlight job; compare wide-coverage driveway floodlights instead.
ChooseA beam spread matched to the feature’s size and distance.SkipUsing a narrow beam to cover an entire open area. - Floodlights cover wide working areas
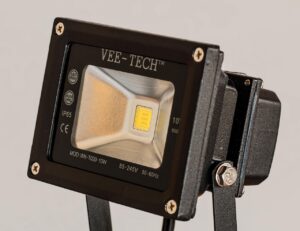
Mount them high enough for the beam to spread, then aim them down and away from property lines. At a side gate or entry, motion-activated floodlights can provide brief useful light without leaving the area bright all night.
ChooseA shielded, downward aim that stops at the intended ground area.SkipMore output used to compensate for poor height, spread, or aim.
Buy for the conditions
An outdoor label is only useful when it matches the fixture’s actual exposure. A light under a deep porch faces a different test from one beside a lawn sprinkler or in an open, wind-driven rain. Check the IP rating that suits the location: the first digit concerns dust and solids, while the second indicates water resistance. An IP rating is not a promise that a fixture can sit in standing water.
Also check the stated ambient-temperature range. In very cold climates, plastic lenses and cable jackets can become brittle; in hot enclosed soffits, heat shortens LED life. Keep drivers and connectors out of places that trap heat, and follow the maker’s mounting instructions.
Light should stay on the property. Shielded fixtures, downward-facing lamps, and careful aiming make dark-sky-minded lighting practical without leaving steps invisible. For paths and patios, warm white—roughly 2700K to 3000K—usually looks calmer than a cool blue-white source. Start with modest output, then add light only where a real dark patch remains.
Near the coast, salt mist reaches farther than the shoreline. Seek powder-coated or marine-suitable fixtures, stainless hardware, and sealed connections; corrosion-resistant coastal options are worth comparing. Even durable finishes benefit from an occasional fresh-water rinse.
Before buying, confirm IP rating, temperature range, and material for the exact mounting spot—not just the general climate. Aim a test fixture after dusk before permanently fixing several in place.

Build a low-voltage system that stays bright
- Total each zone’s load
List every planned fixture by zone and add its stated wattage. A 3-watt LED path light seems small, but twelve along one run require 36 watts before any accents are added.
- Leave room in the transformer
Choose a transformer rated comfortably above the combined load—roughly 20% spare capacity is a practical starting point. A guide to matching transformer capacity to the fixture load helps avoid a system that looks fine on day one but has no room for another light.
- Treat long cable runs as a design limit
Voltage drops as cable gets longer, especially when many fixtures sit at the far end. Keep high-load zones closer to the transformer, split distant areas into separate runs, or use heavier-gauge cable where the manufacturer permits it.
- Match controls to how each zone is used
A photocell or timer suits routine path lighting; a manual override is useful for patios, while motion sensing fits a side gate. Controls should switch zones that share a schedule, not force the whole yard on at once.
- Use connectors meant for burial
Plan one weatherproof connector at each fixture and leave enough slack for aiming or replacement. Make connections with power off, keep them above standing water where possible, and test each zone before covering cable.
Test the layout after dark
Daylight plans are only a starting point. At night, shadows, reflections, and views beyond the property change the result. Before fixing cable or mounting a fixture, prop lights in position temporarily. Test them at the time the space is usually used.
Walk it as visitors do
Make the trip from street to door, then along every route used regularly. Look for steps that disappear, pools of light that spoil depth perception, and bright fixtures visible at eye level. Stand at the front door, driveway, and property edge: a floodlight should illuminate ground or wall, not a neighbour’s windows or passing drivers. For practical floodlight aiming adjustments, lower the tilt, turn the beam inward, or add a shield before increasing output.
Sit in the patio
On the patio, place a chair at the table and check faces, plates, and footing. A light that feels adequate while standing may be harsh across a tabletop or leave the grill in shadow. Balancing dinner-table light with softer surroundings can mean moving one fixture closer, lowering its output, or adding a shaded source.
Finish by switching one fixture off at a time. This reveals which lamp creates useful coverage and which merely adds glare. Record the successful height, aim, and brightness before permanent installation.
- Start with one priority zone
Choose the route, entry, or task area that needs dependable light first. Keep decorative planting and façade effects for a later phase.
- Install only the core pieces
Use the fewest fixtures that make the area safe and usable. Leave enough cable capacity or outlet access for a future branch.
- Live with it for a week
Check the lighting on wet evenings, during normal arrivals, and from indoors. Notice where shadows remain, where light feels excessive, and whether controls fit the routine.
- Adjust before adding
Re-aim, shield, move, or remove a fixture before buying more. A small correction often solves a problem that extra brightness would worsen.
- Expand from proven results
Add the next-ranked zone only after the first one works reliably. Repeat the same temporary test for each new area.
- A phased system protects the budget and keeps early mistakes small.
- Empty capacity in a low-voltage plan makes later additions simpler.
A first outdoor LED purchase does not need to light the whole property. A modest, well-tested zone reveals what the yard actually needs—including habits, weather effects, and overlooked glare—before the next fixture is chosen.
